Learn how to use and develop for dddice
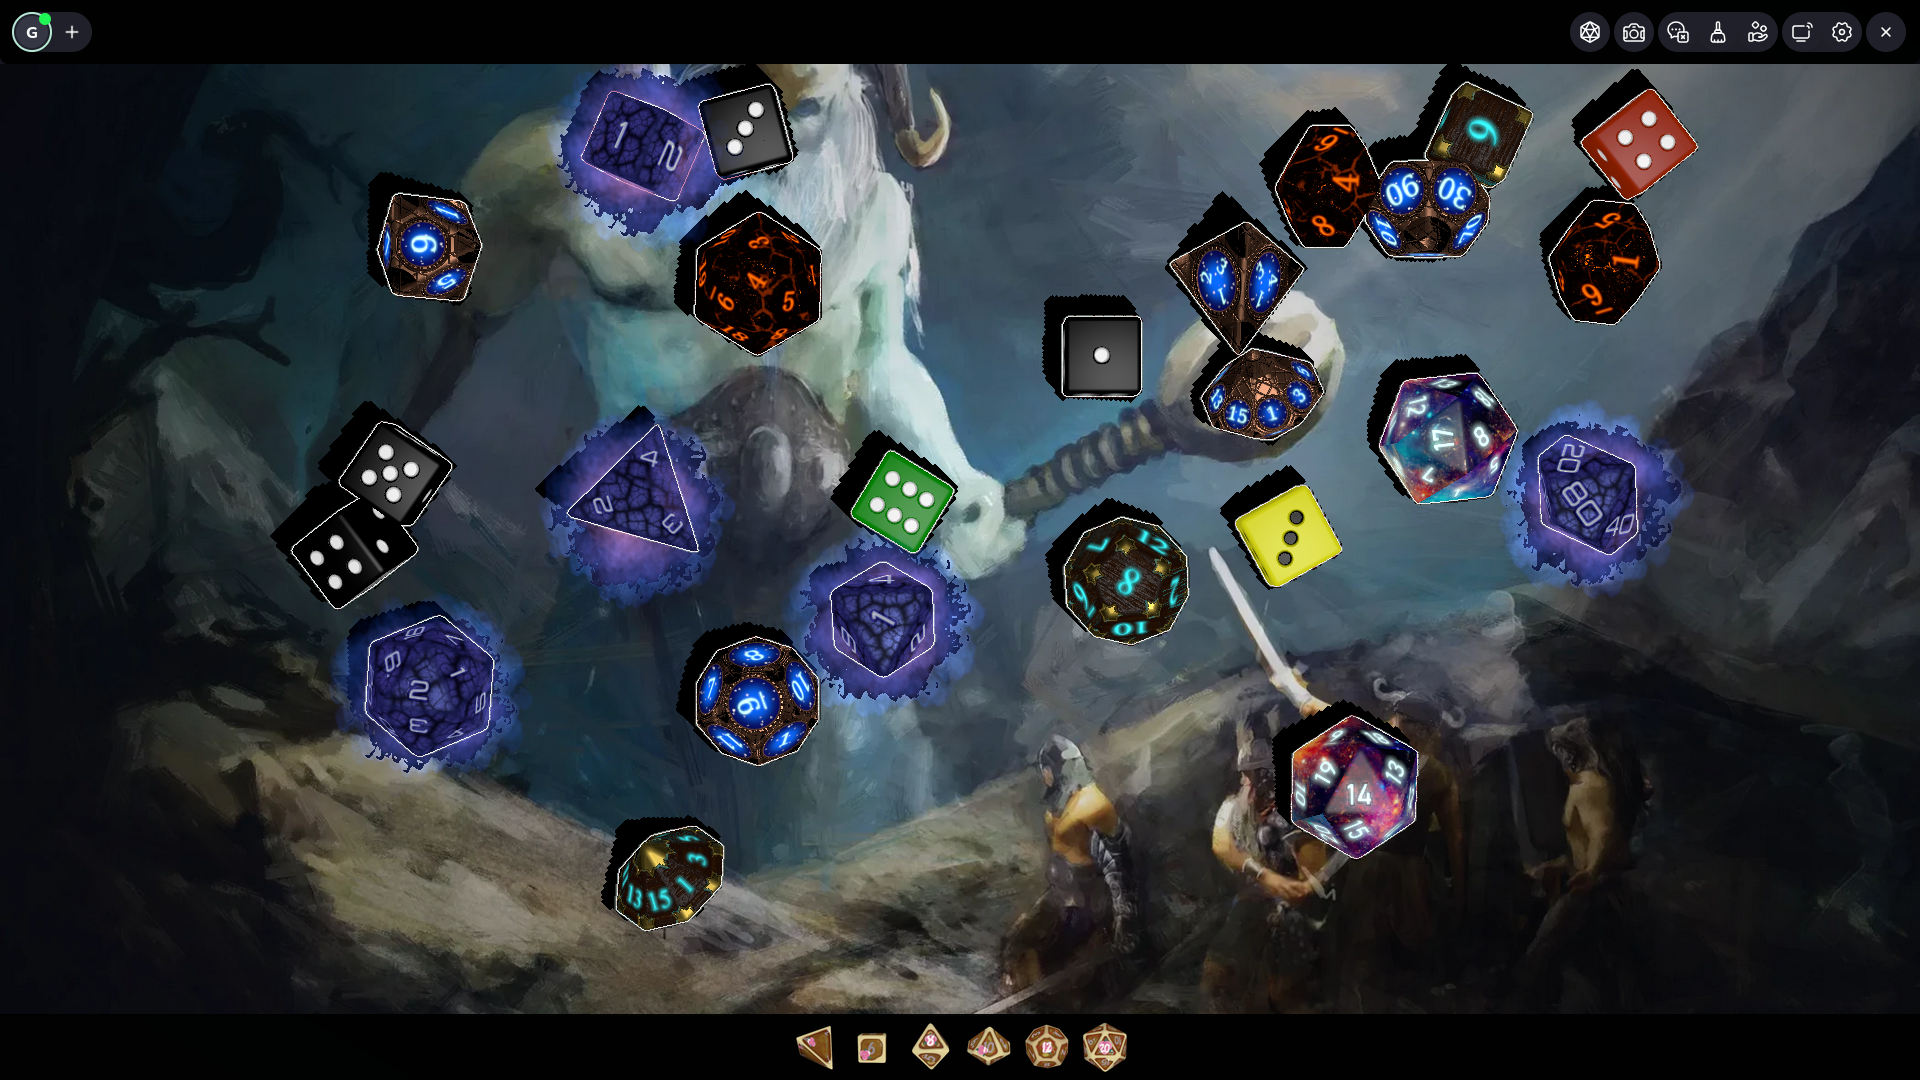
Roll 3D dice and sync results with your entire party.
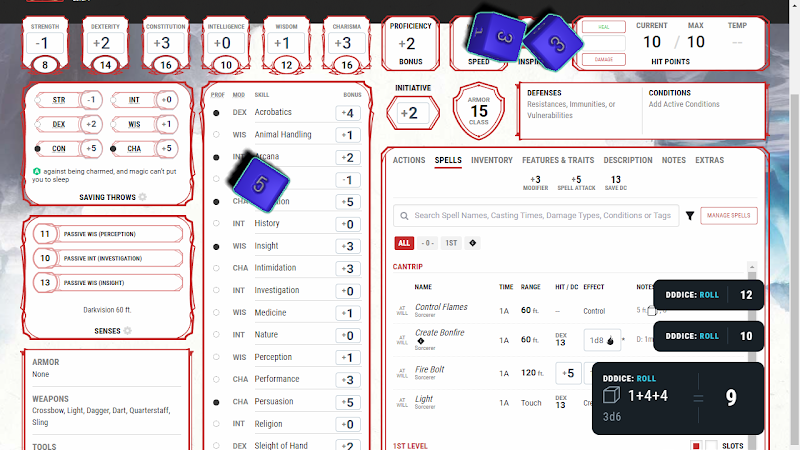
Connect dddice with your favorite Virtual Tabletop (VTT) or application.
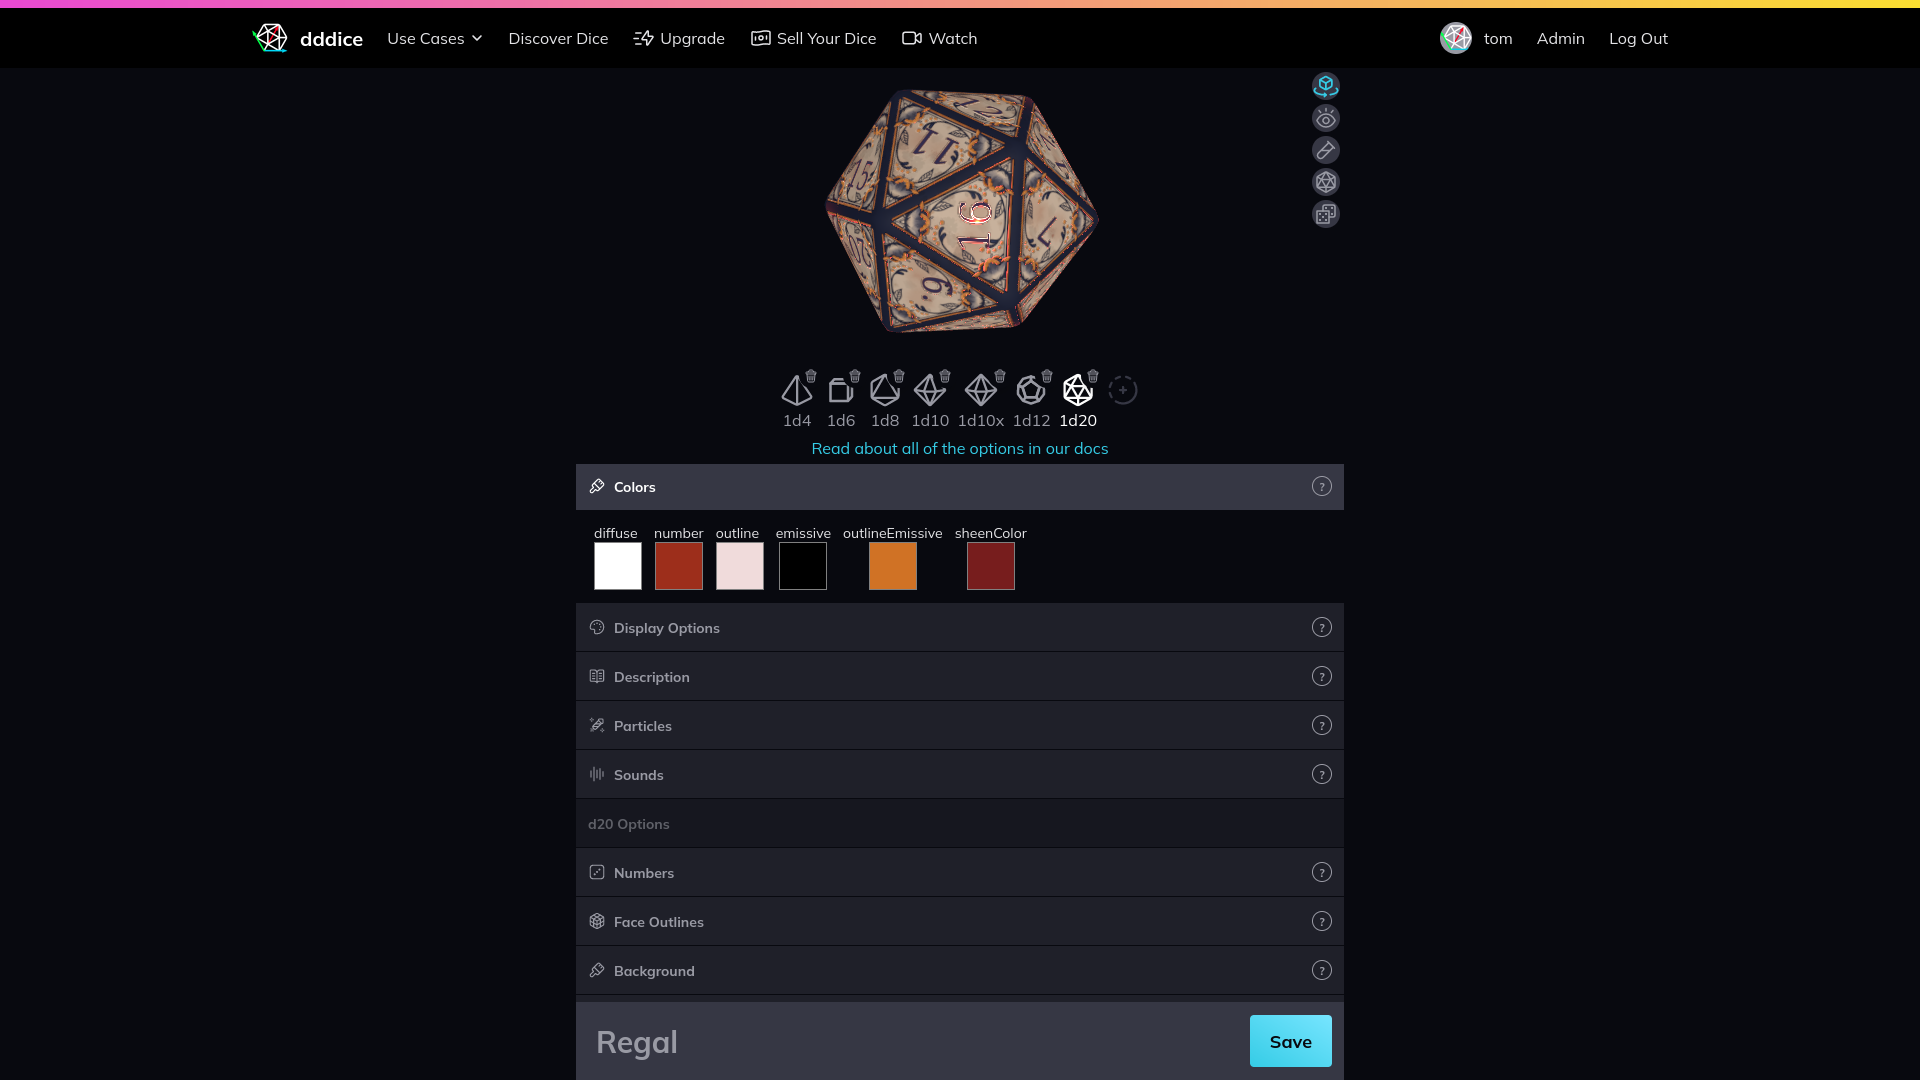
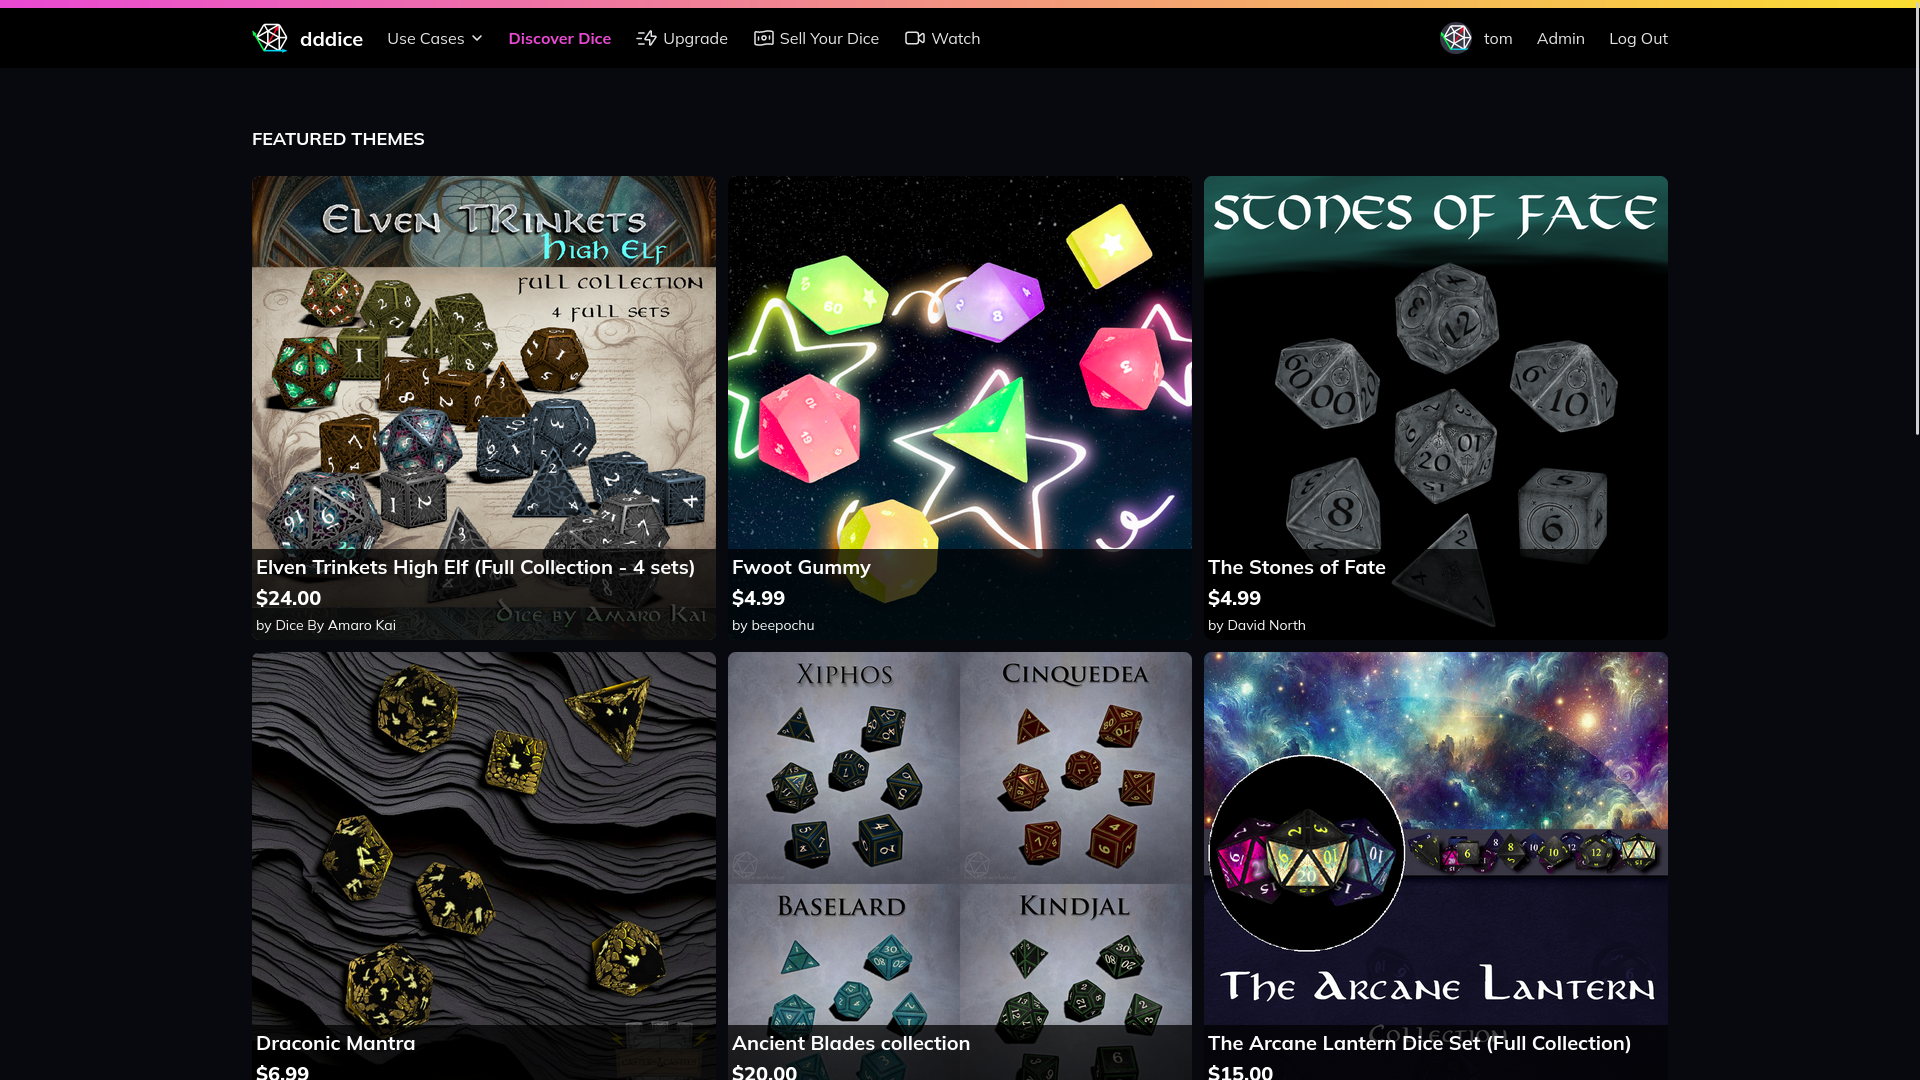
Create custom dice themes to share with your friends or sell on the marketplace.
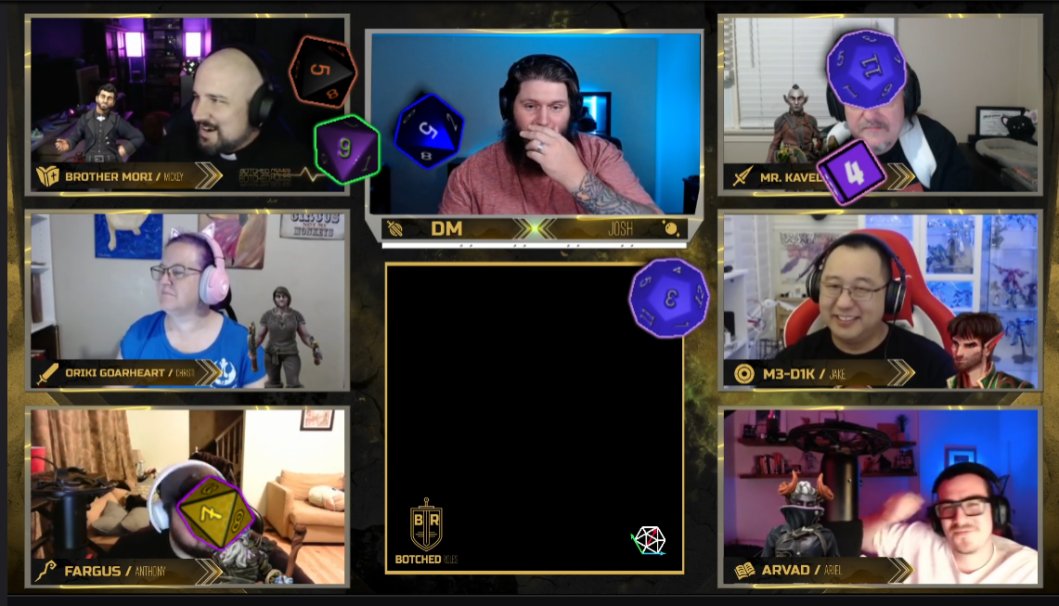
Stream digital dice rolls using OBS, Streamlabs, Twitch, YouTube, and more.
Buy and sell custom dice themes that can be used virtually anywhere.
Add 3D dice to your own applications using our robust SDK and API.